Good news, i finally found the time to take some decent pictures of the Jack! That means writing an article has been possible ;)
So the original model is the Jack from Sergeant Blackart, sculpted by Joaquin Palacios. The sculpture is based on an artwork from the famous artist
Gerald Brom .
I didnt want to stick to the original colors, and while searching an idea i discovered another great artwork from the same artist. Sadly i can't show a picture as it's inside the book "Brom Art". It's copyrighted and i'm not a rebel enough :p . But i still can describe it! The idea is a barbarian painted very dark with blue nuances, walking in a forest with sort of a solid orange fog. People who own the book will surely find it.
I loved the strong and direct contrast between the orange fog and the blue nuances, combined with the bright background and the dark character. This is something i wanted to try on a miniature, just to see if this can also work on 3D.
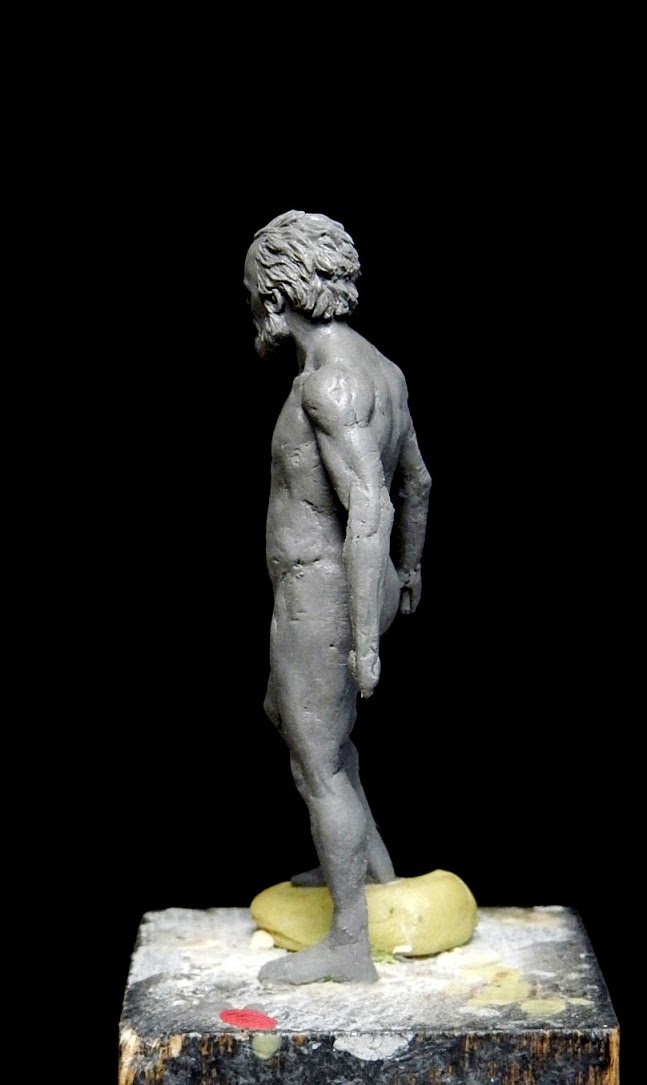
So, i started modifying a little bit the Jack's original sculpture. I wanted the guy to represent the death, to be like the guardian of the hells gate. I changed his sword to a scythe and i also thought adding him a hood and a cloak could look cool! Plasticard (scythe) and magic sculpt have been used for that. Another thing i also wanted to try is to paint a skull on the face, and the Jack's sculpt is perfect for that as it is quite flat and not much detailed.
With all these elements the project was clear in my mind, that always helps a lot when painting a miniature ;) . Here is the result:
About the technical aspects, i painted it using acrylics and oils, airbrush & brush. It is difficult to describe the process, but... To make it short, i started with a black primer and spotted the focal points with white (airbrush). Still with pure white but this time with the brush, i pushed the whites and added some textures. After that it was time to start adding the blue nuances, first with airbrush and later with the brush. The rest of the work is done with the brush only, taking care of the details, defining the elements and reworking the transitions.
I also used oils, for example to add depth in some shadows with ivory black or with titanium white to give some highlights more strenght. Well, i'm still a newbie with oils, but i enjoy it more and more. When the blacks/blues/whites were finished, i added red reflections on the underparts of the model, but it's not easy so see them on the pictures. The most evident place where you can see them is under the feet.
I have no wip picture of the background, but the orange has been painted with oils only. I restarted it 3 or 4 times before being satisfied of the tonality and of the composition. Also because at the first tries i had a lot of dust coming on my paints... Never forget to clean and ventilate your office when you paint with oils! :p
To finish, this mini was part of my display at the Monte San Savino Show 2014, where it recieved the "Best of Painter" award. Thanks again everybody for the great feedbacks you gave me in Italy!
If you have specific questions about the painting process, feel free to ask!
Cheers & best 2015 wishes!


.JPG)
.JPG)
.JPG)
.JPG)
.JPG)
.JPG)